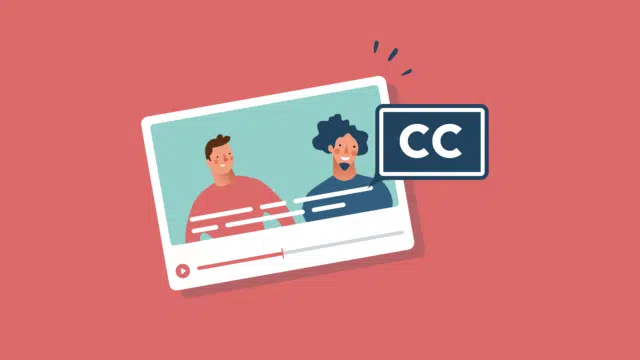
How to configure subtitles for the deaf and hard of hearing on television?
Discover in this article how to set up step-by-step subtitles for TV for deaf and hard-of-hearing individuals, enabling them to enjoy television programs as well.

Last modified on 6 February 2024.
Subtitling is a vital element of contemporary video content. It not only broadens accessibility to a broader audience but also improves the viewing experience and aids in conveying the message more effectively. In this comprehensive guide, we will explain the significance of subtitling, when to employ it, how to carry it out, and what to watch out for to ensure the finest subtitling experience.
In this article
Subtitling goes far beyond being a mere textual representation of spoken words. It assumes a vital role in reaching out to a diverse audience, irrespective of language or hearing impediments. Below, we outline several key reasons why subtitling is indispensable for your videos:
Subtitling guarantees that individuals with hearing impairments can comprehend the content. It also provides opportunities for viewers who may not grasp the spoken language entirely, including non-native speakers or individuals in noisy surroundings.
Subtitle texts can be indexed by search engines, enhancing the discoverability of your videos in search results. This can boost your online presence and attract a larger audience to your videos.
Subtitling keeps viewers engaged with your videos for longer durations, as it captures their attention and clarifies the message. This enables viewers to comprehend the content better and increases the likelihood of them watching your video to its conclusion.
It is advisable to subtitle your videos whenever possible, unless it is genuinely unnecessary. There are various scenarios where subtitling proves to be particularly advantageous:
There are several methods to subtitle your videos, and we will discuss two popular approaches:
Triple8 is a robust subtitling software that automatically transcribes spoken language into text. Here’s how to use it:
An SRT file is a text file that includes time codes and corresponding subtitles. It enables manual creation and editing of subtitles. You can use an SRT file to add subtitles to platforms like Facebook, YouTube, and more.
An SRT file is a commonly used text format for subtitles. It includes time codes specifying when each subtitle should appear and disappear during a video. You require an SRT file when you wish to create subtitles manually or when adding subtitles to platforms that offer SRT file support.
Subtitling demands precision and attention to detail in order to deliver an optimal viewing experience. Here are some guidelines to assist you in subtitling your videos:
Here are instructions on how to include subtitles on various popular social media and video editing platforms:
To add subtitles on Facebook, follow these steps:
Repeat steps 3 and 4 for each language you want to add subtitles in. Continue until subtitles for all desired languages are added.
If you want to remove subtitles from your Facebook video, follow these steps:
You can add subtitles on YouTube in the following manner:
Repeat steps 3 and 4 if you want to add subtitles in multiple languages to your YouTube video. Do this until the subtitles of each language are added. Read more about learning a foreign language using subtitles soon.
If you want to edit or remove subtitles on YouTube, do the following:
If you wish to add subtitles to your Instagram videos, please note that Instagram does not currently offer the capability to upload SRT files or automatically generate subtitles for your videos. To post videos with subtitles on Instagram, your video must already have subtitles embedded in it. However, if your video lacks subtitles, you need not worry.
Triple8 offers a convenient and straightforward solution for this. Simply upload your video to the Triple8 editor, and within 5 minutes, you can download your video complete with subtitles. Afterward, you can post it on Instagram, and there you have it – your Instagram video will now feature subtitles.
Just like Instagram, TikTok does not currently provide an option to upload SRT files or offer automatic subtitle generation functionality. To add subtitles to your TikTok videos, the same principle applies: you should upload a video that already includes subtitles.
To achieve this, you can rely on Triple8’s assistance. Simply upload your video to the Triple8 platform, wait for 5 minutes, and then download the video complete with subtitles. Once you’ve done that, you can post it on TikTok, and your TikTok video will feature subtitles.
To add subtitles to your LinkedIn video, you will require an SRT file. Here’s how to do it:
Once your video is uploaded, you will receive a notification. You can view the subtitles on LinkedIn by clicking on the “CC” button located at the bottom right of the video.
When working in Premiere Pro, you have two options for adding subtitles to your video:
Follow these steps to manually type and time subtitles in your Premiere Pro video:
No time or fancy manual captioning in Premiere Pro? Upload your video in the Triple8 editor and download the SRT file of your video within 5 minutes. You can import it into Premiere Pro using the steps below.
If you already have the SRT file for your subtitles, you can easily add subtitles to your video in Premiere Pro within 1 minute. Here’s how:
Are there any errors in the subtitles, or is the text not clearly visible? In Premiere Pro, you can readily modify both the text and the style of your subtitles:
iMovie does not offer the capability to upload an SRT file, nor does it provide a built-in subtitling function. However, you can manually add subtitles in iMovie, although it can be a laborious and time-consuming process. If you already possess an SRT file, it can significantly streamline the task. If you don’t have one yet, you can create an SRT file in the Triple8 editor in just 5 minutes.
Discover in this article how to set up step-by-step subtitles for TV for deaf and hard-of-hearing individuals, enabling them to enjoy television programs as well.
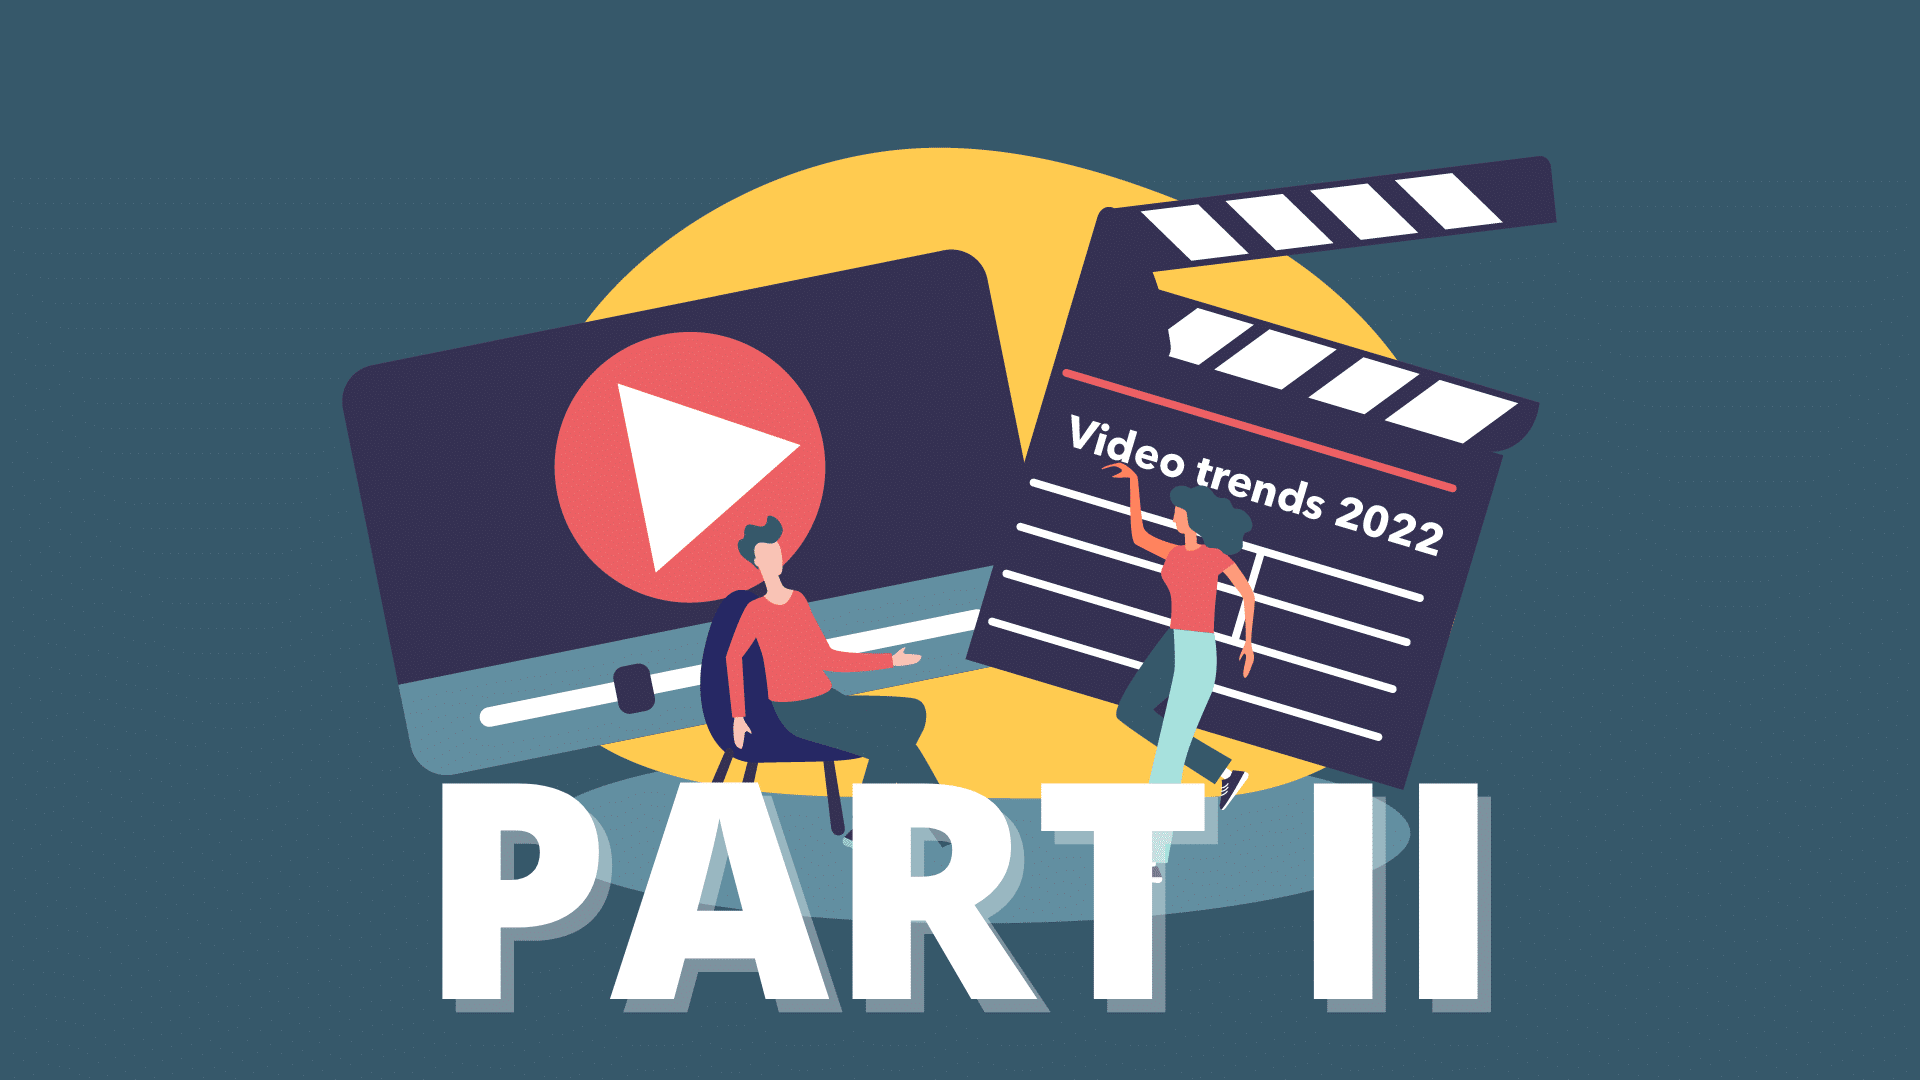
In this blog, we tell you all about the upcoming video trends for this year (part2).
In this blog, we tell you all about the upcoming video trends for this year.
In deze blog leggen we je uit hoe je een video kan vertalen met Triple8 en waarom dat handig kan zijn.

In this guide we explain the difference between open en closed captions.

In this new blog we talk about transcribing, what does it stand for and how to use it.
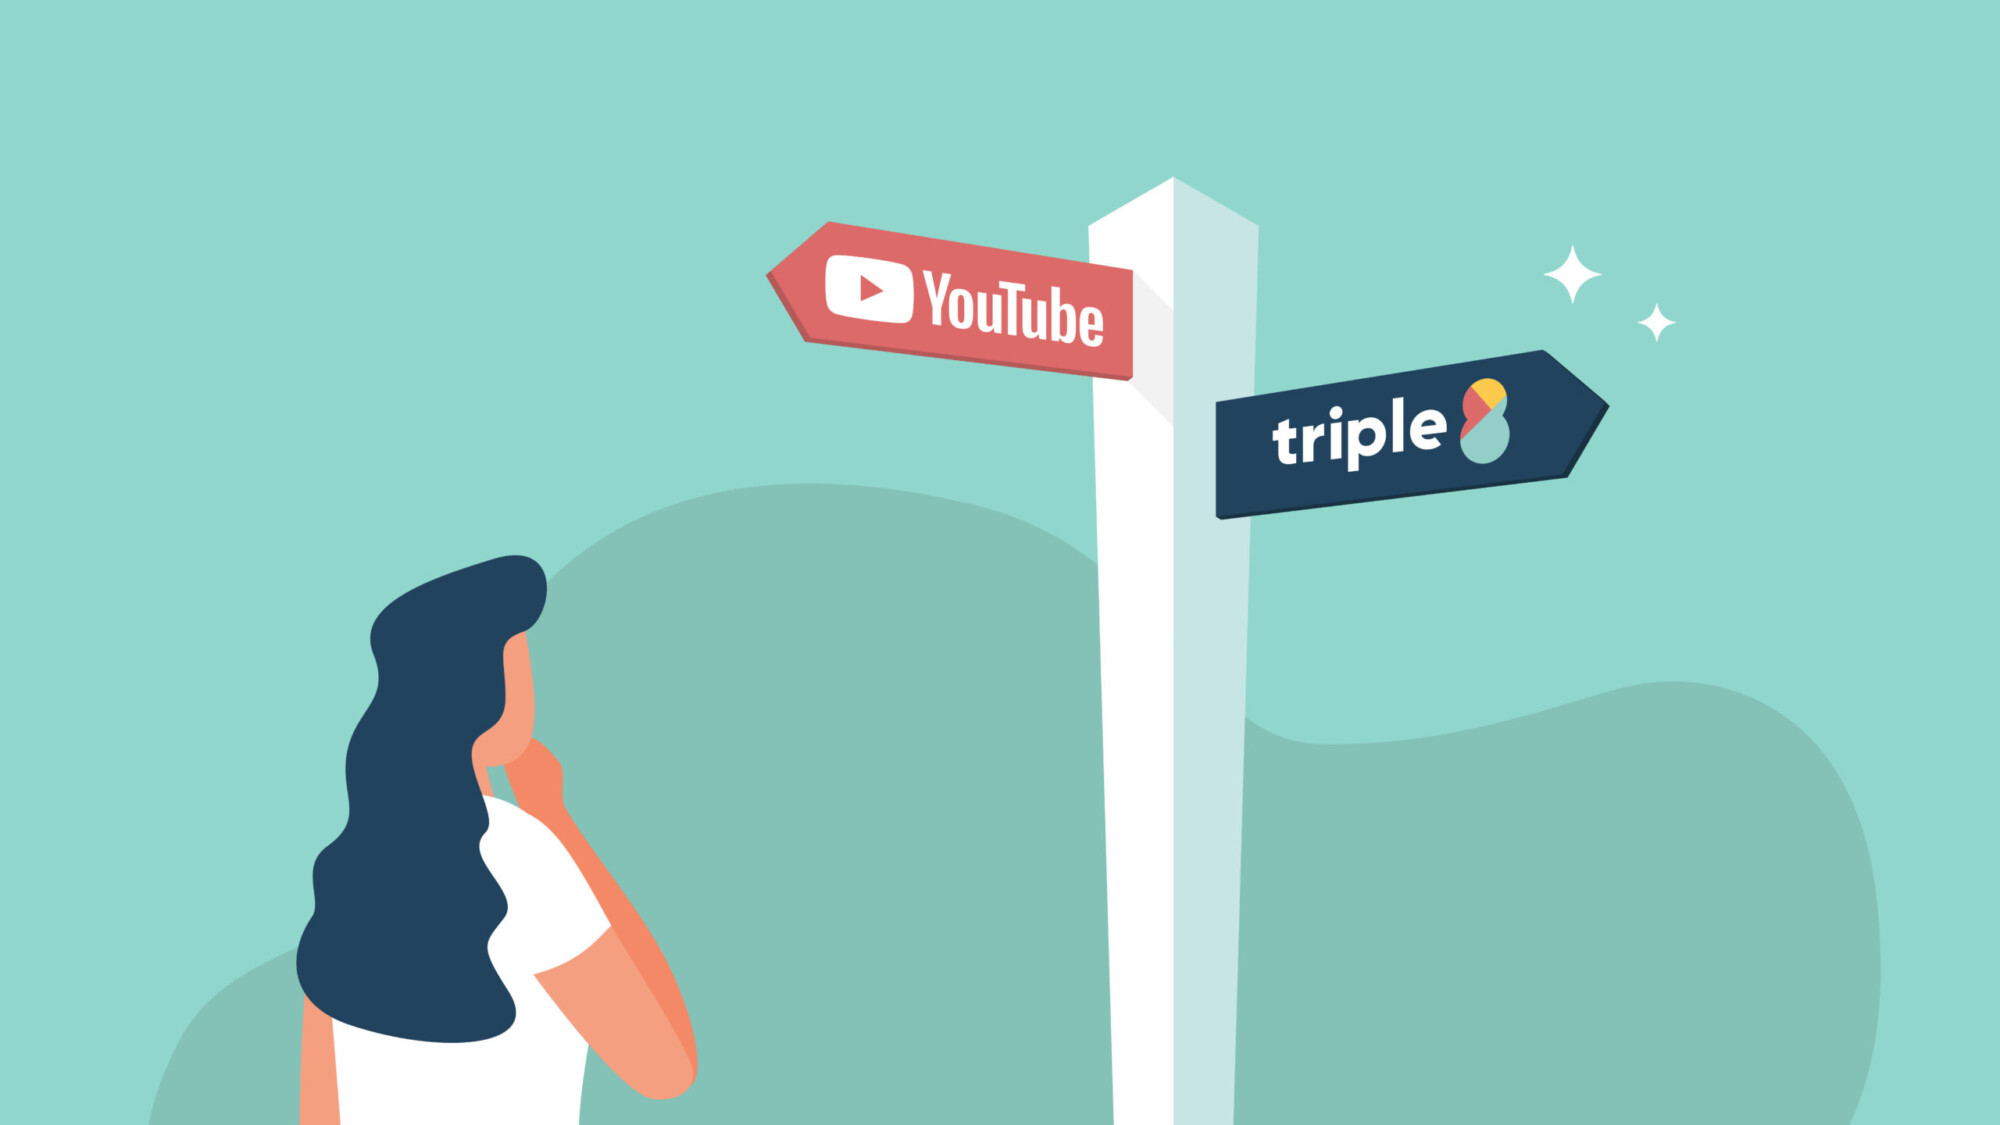
In this guide we explain the difference between subtitling your videos via the YouTube Studio and the Triple8 editor.

In this guide we will explain how to create subtitles for LinkedIn videos in 3 easy steps.

You can easily add subtitles to your Instagram videos with these 4 steps.
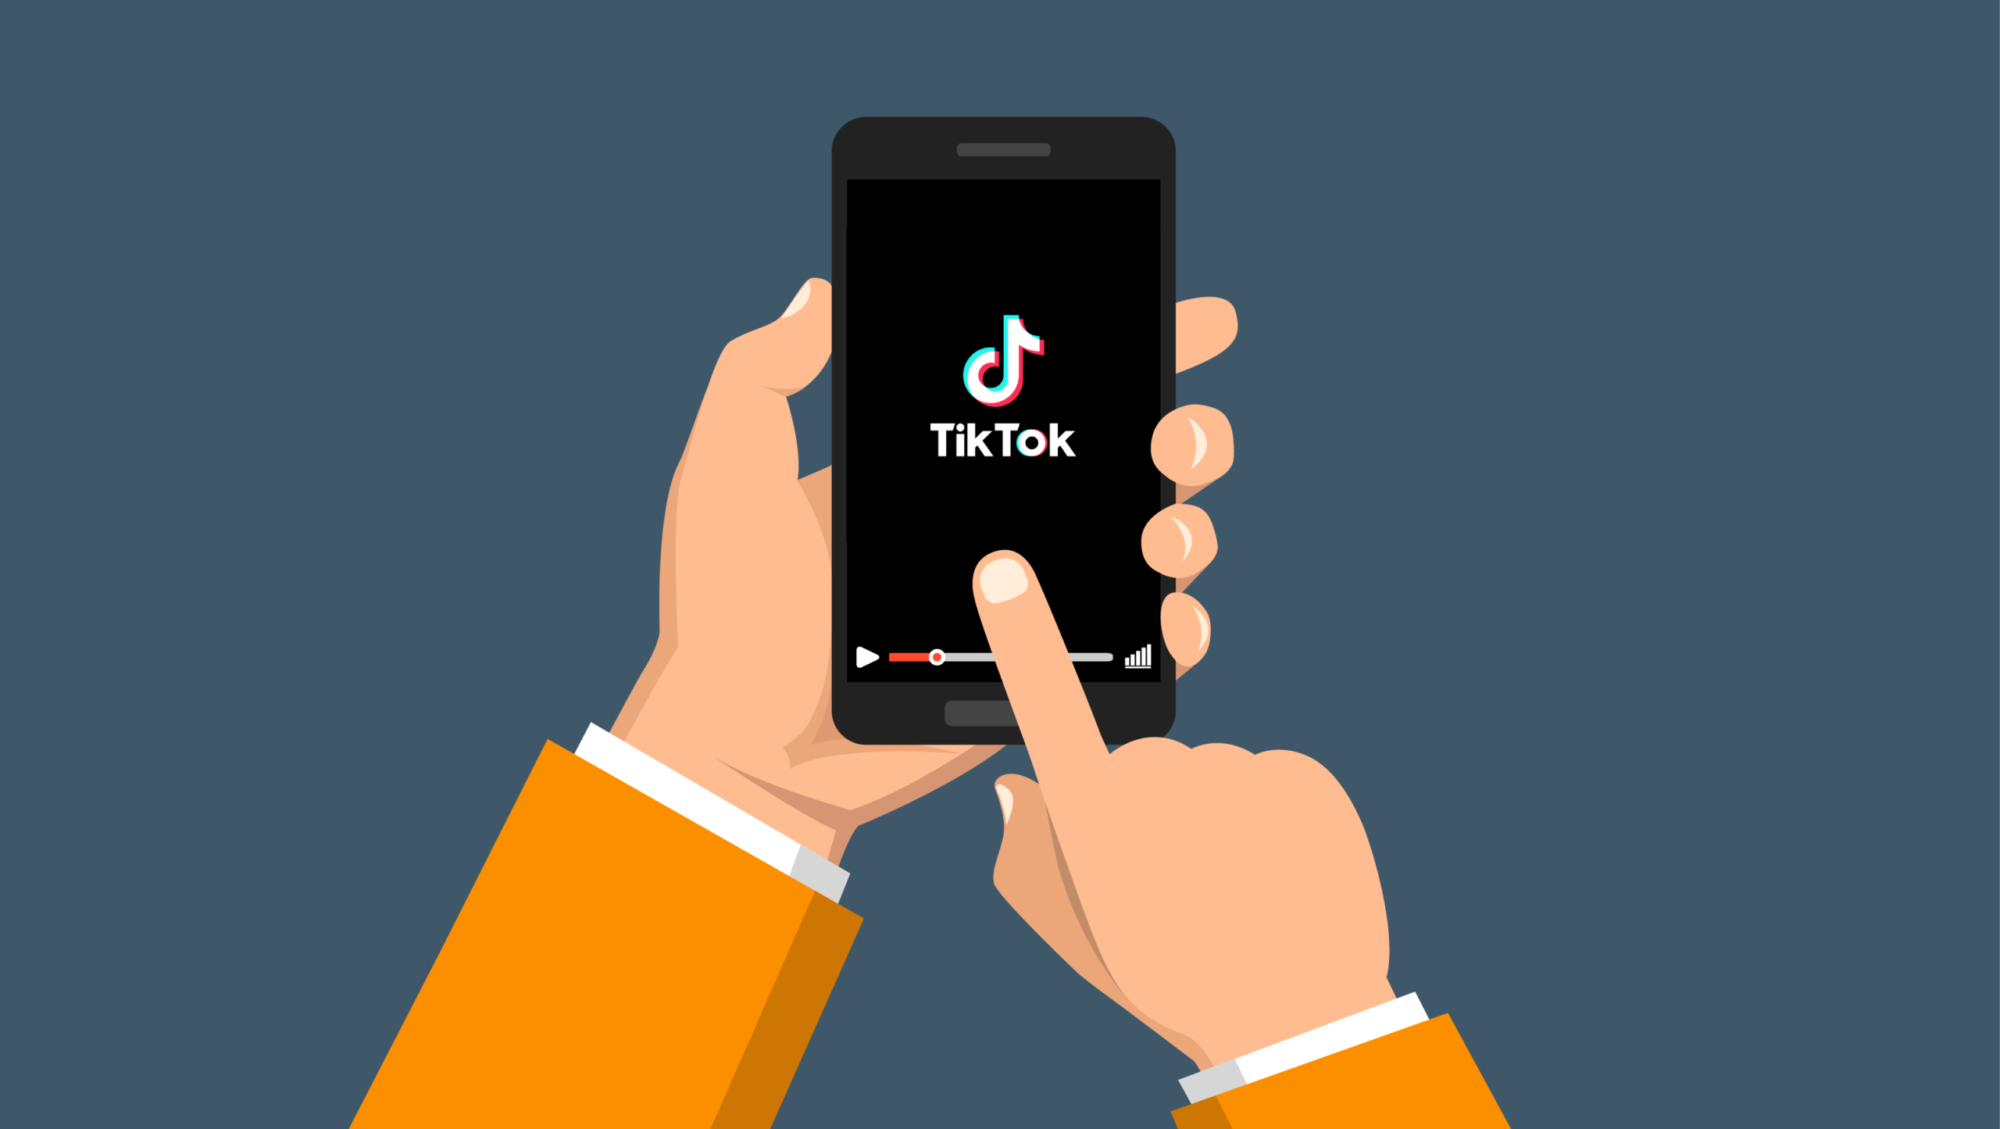
In this guide, we will explain how to add subtitles to your TikTok videos in 4 steps.

In Premiere Pro you can add subtitles in two different ways. In this guide we explain how to add subtitles in Premiere Pro and we show you how to edit them.

In this guide we explain how to add subtitles to your iMovie project. Although iMovie does not have a subtitle function there is a way to manually add subtitles to your iMovie project.

Adding subtitles to your Facebook videos will allow your video to be viewed without sound and make it more accessible to the deaf and hard of hearing. Subtitles will increase the reach of your videos. In this guide, we will show you how to add subtitles in multiple languages to your video, edit and remove them on Facebook.

What is a SRT file, what does the abbreviation stands for and when do you need it?
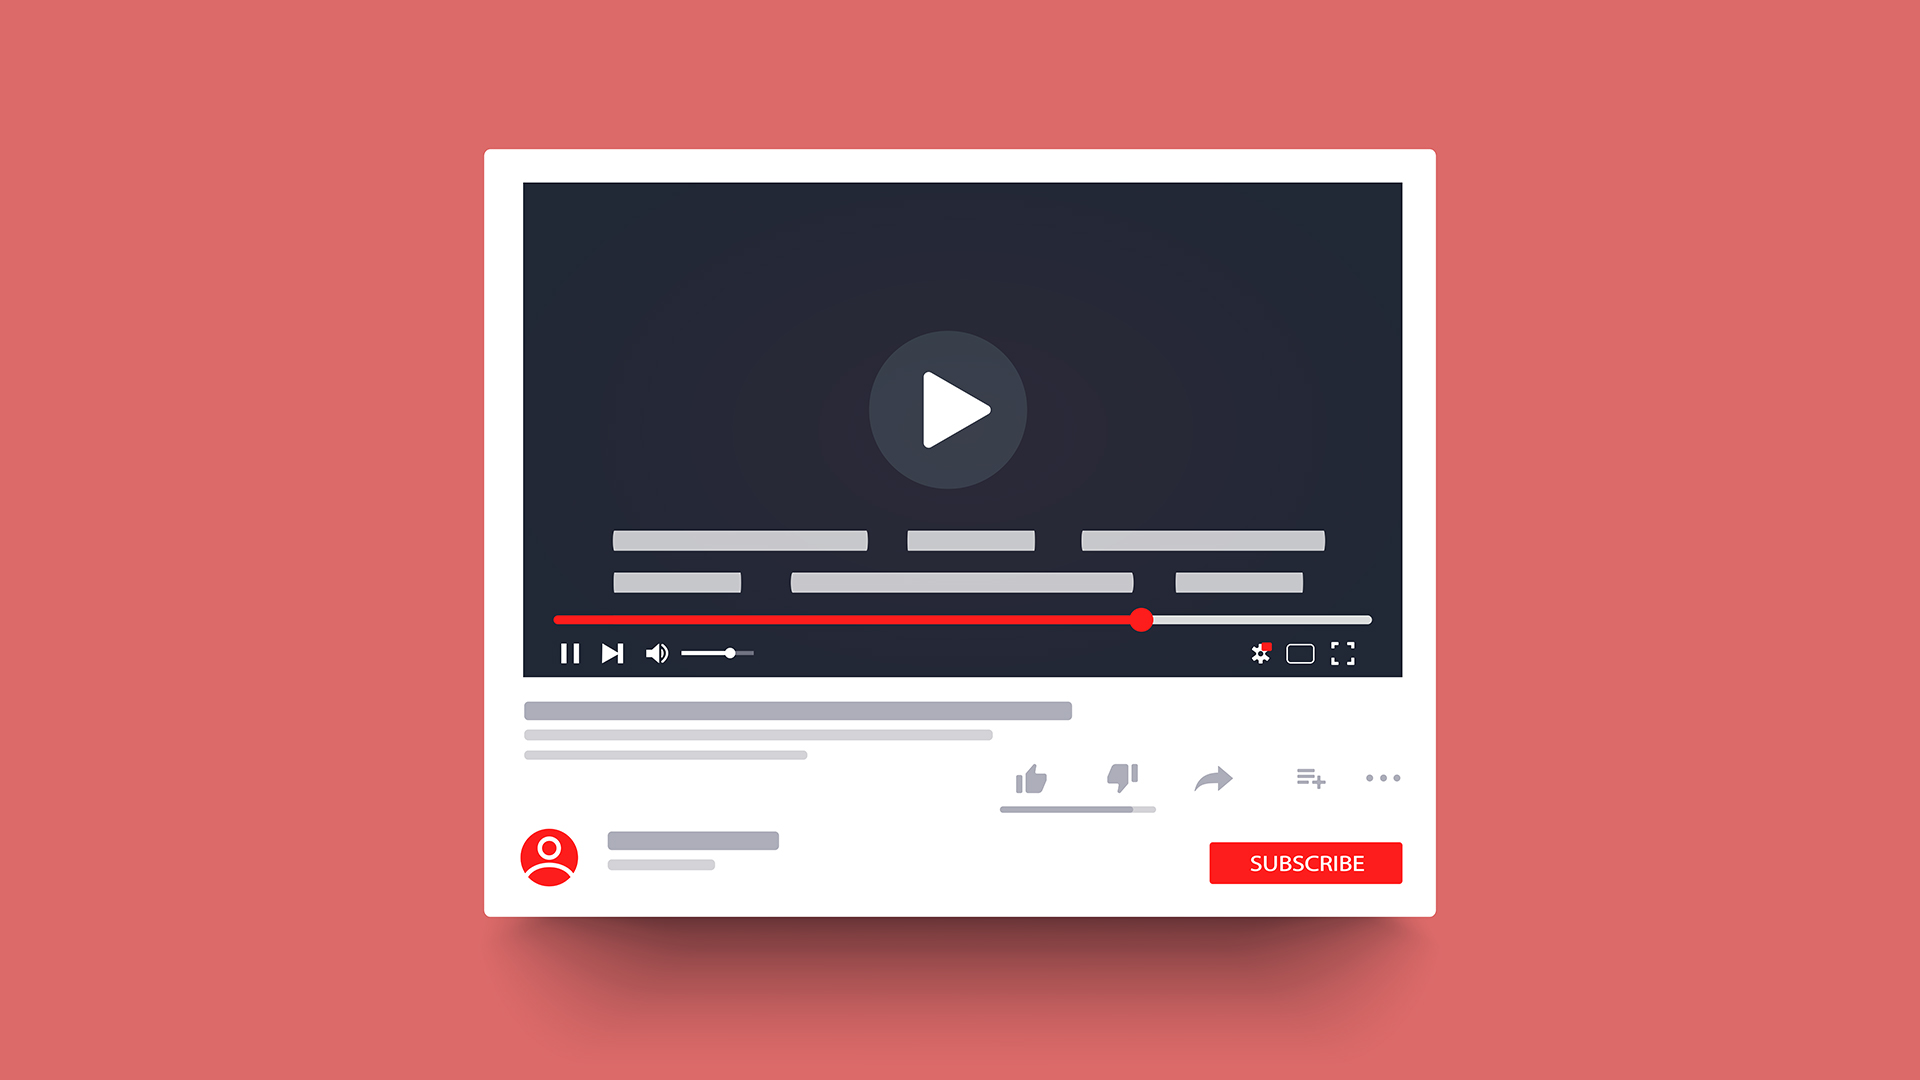
In this guide we explain how you can add, edit and delete subtitles in multiple languages on YouTube.