
Everything you didn’t know about subtitling
In this article, we take you through the history and evolution of subtitling.
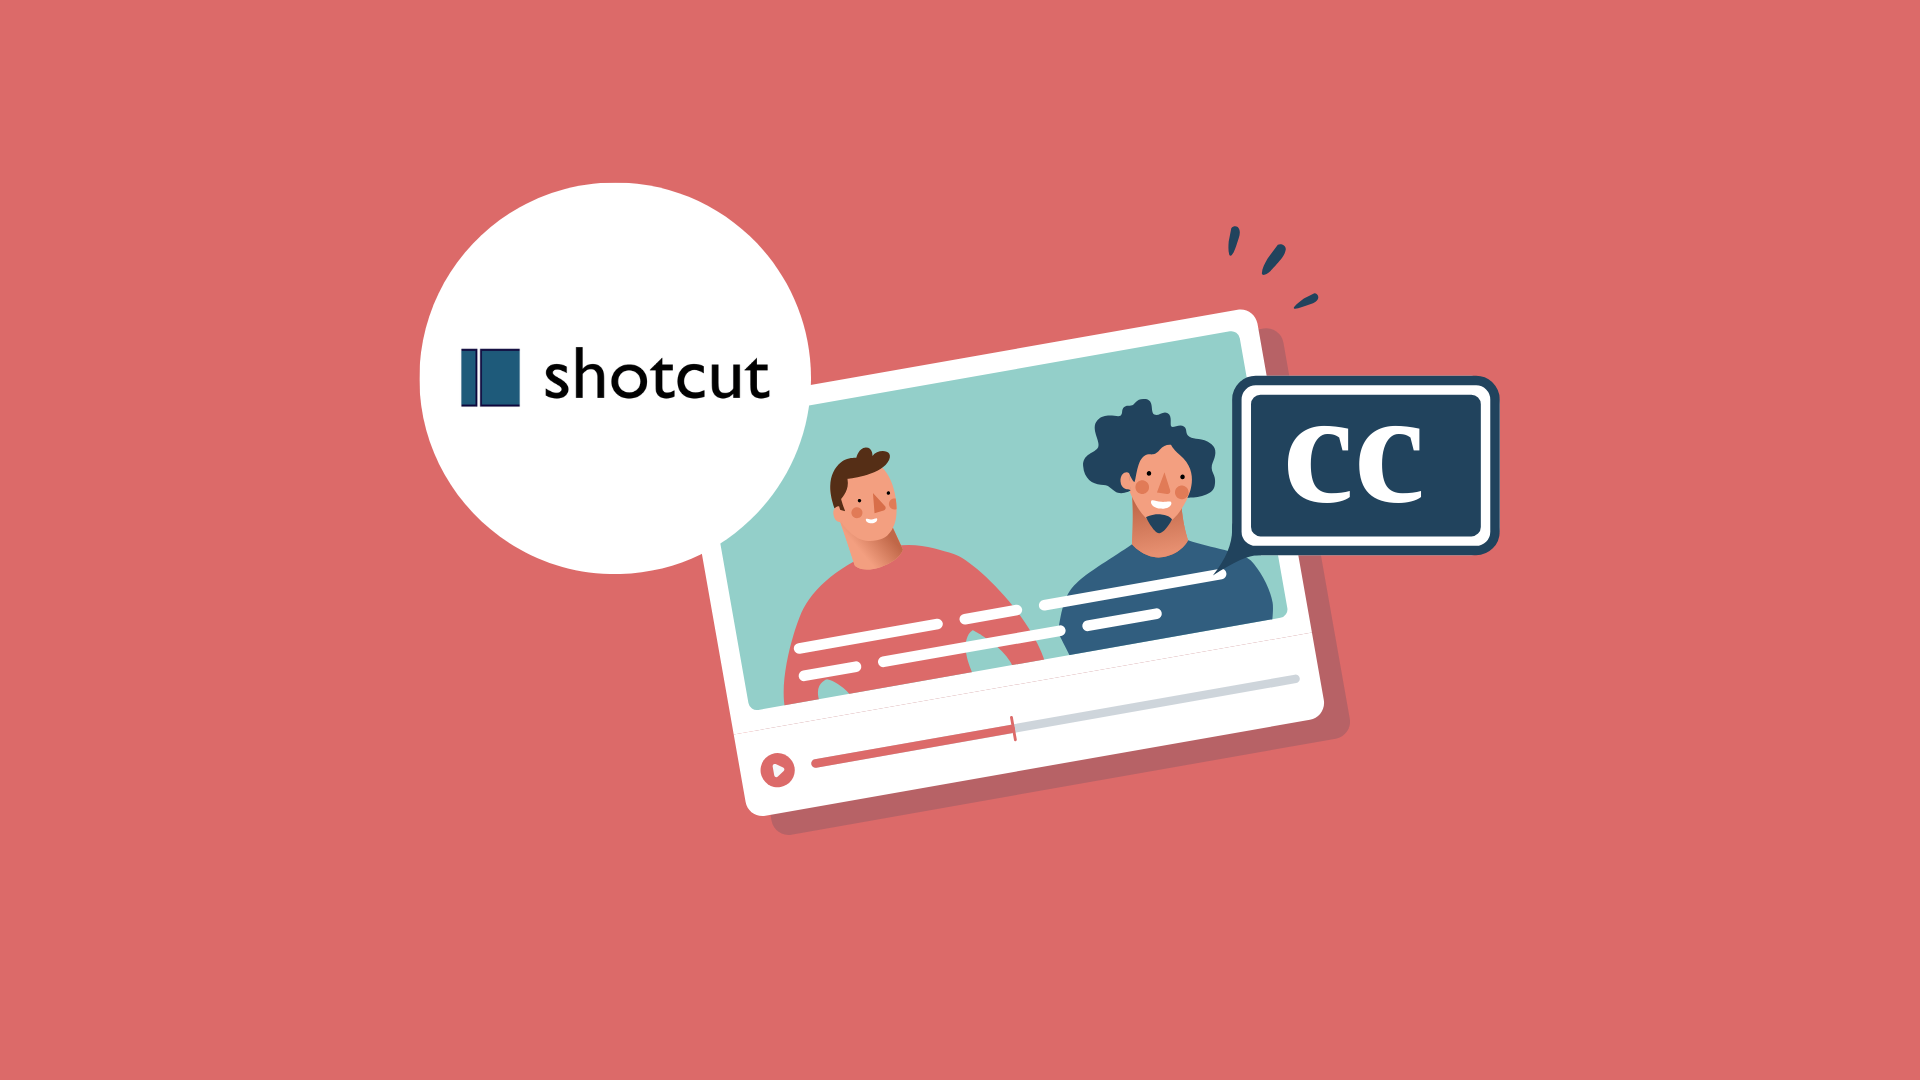
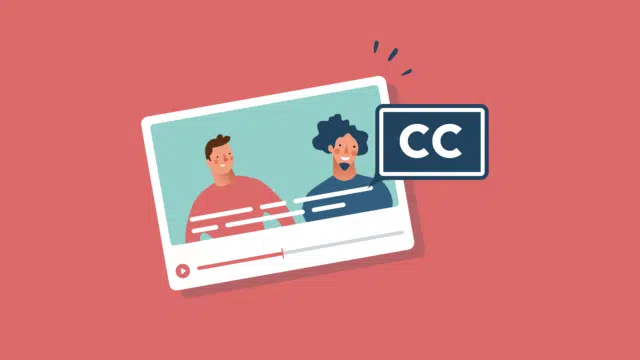
With more and more videos nowadays, it is possible to use subtitles. Offering subtitles improves accessibility for the deaf and hard of hearing. It is also useful for viewers who want to watch videos without sound, because you can then watch videos in silent compartments on the train, for example. In this article, we explain in detail how to add subtitles to videos in ShotCut, making your videos accessible to a wider audience. Read on quickly and get helpful tips you can get started with right away!
In this blog post
Writing subtitles for videos can be time-consuming, as each spoken sentence must be typed out manually. For a 1-hour audio recording, it can take 5 to 6 hours to type it out. Using Triple8’s AI software, this problem is easily solved.
Thanks to Triple8, you can create subtitles for your videos within 5 minutes. You can also have us review the subtitles by a native speaker to ensure that the subtitles and any translation are 100% accurate. The subtitles are then checked within 24 hours and comply with international WCAG guidelines.
We understand better than anyone that you would prefer to get back to working with ShotCut as soon as possible. Therefore, below you will find step-by-step instructions on how to add subtitles in ShotCut:
Before you can add subtitles to your ShotCut video, you must have a file containing the subtitles in an appropriate format, such as an SRT file. You can create subtitle files manually with text editing software, or have them generated automatically. Our Premium subscription to our AI software makes it easy to create subtitles for your video. Upload your video and your subtitles will be ready to use in ShotCut in as little as 5 minutes.
Start Shotcut and open the project you want to add the subtitles to by clicking “File” and then “Open File” or “Open Recent” and navigate to the project file on your computer.
Click “File” and then “Open File” to import the subtitle file you want to use for your video. Make sure the subtitle file has the same name as your video and is in the same folder so ShotCut will automatically recognize it.
After you import the subtitle file into ShotCut, you’ll see it listed in the “Source” panel. Drag the subtitle file to the timeline below your video. You will now see the subtitle as a separate track on the timeline.
If the subtitles are out of sync with the video, you can adjust this by moving the subtitles on the timeline or adjusting their duration. Use the play button to check the timing while adjusting the subtitles.
ShotCut provides some options to customize the formatting of the subtitles. Right-click the subtitle on the timeline and select “Filters.” Here you can add filters to adjust the text style, font size, colour, and other style options of the subtitle.
When you are satisfied with the subtitles and timing, export your video with the subtitles. Click “File” and choose “Export” to start exporting.
That’s it! You’ve now added subtitles to your video using ShotCut. Don’t forget to save your project before you close Shotcut so you can keep your work for future edits.
In this article, we take you through the history and evolution of subtitling.
Discover in this article how to set up step-by-step subtitles for TV for deaf and hard-of-hearing individuals, enabling them to enjoy television programs as well.

In this blog, we tell you all about the upcoming video trends for this year (part2).

In this blog, we tell you all about the upcoming video trends for this year.

In deze blog leggen we je uit hoe je een video kan vertalen met Triple8 en waarom dat handig kan zijn.

In this guide we explain the difference between open en closed captions.

In this new blog we talk about transcribing, what does it stand for and how to use it.

In this guide we explain the difference between subtitling your videos via the YouTube Studio and the Triple8 editor.

In this guide we will explain how to create subtitles for LinkedIn videos in 3 easy steps.

Adding subtitles to your Instagram videos is easy with these 4 steps.

In this guide, we will explain how to add subtitles to your TikTok videos in 4 steps.

In Premiere Pro you can add subtitles in two different ways. In this guide we explain how to add subtitles in Premiere Pro and we show you how to edit them.

In this guide we explain how to add subtitles to your iMovie project. Although iMovie does not have a subtitle function there is a way to manually add subtitles to your iMovie project.

Adding subtitles to your Facebook videos will allow your video to be viewed without sound and make it more accessible to the deaf and hard of hearing. Subtitles will increase the reach of your videos. In this guide, we will show you how to add subtitles in multiple languages to your video, edit and remove them on Facebook.

What is a SRT file, what does the abbreviation stands for and when do you need it?
In this guide on subtitling videos, we explain what an SRT file is and how to subtitle videos on Facebook, Youtube, Instagram, TikTok, LinkedIn, Premiere Pro and iMovie.
In this guide we explain how you can add, edit and delete subtitles in multiple languages on YouTube.