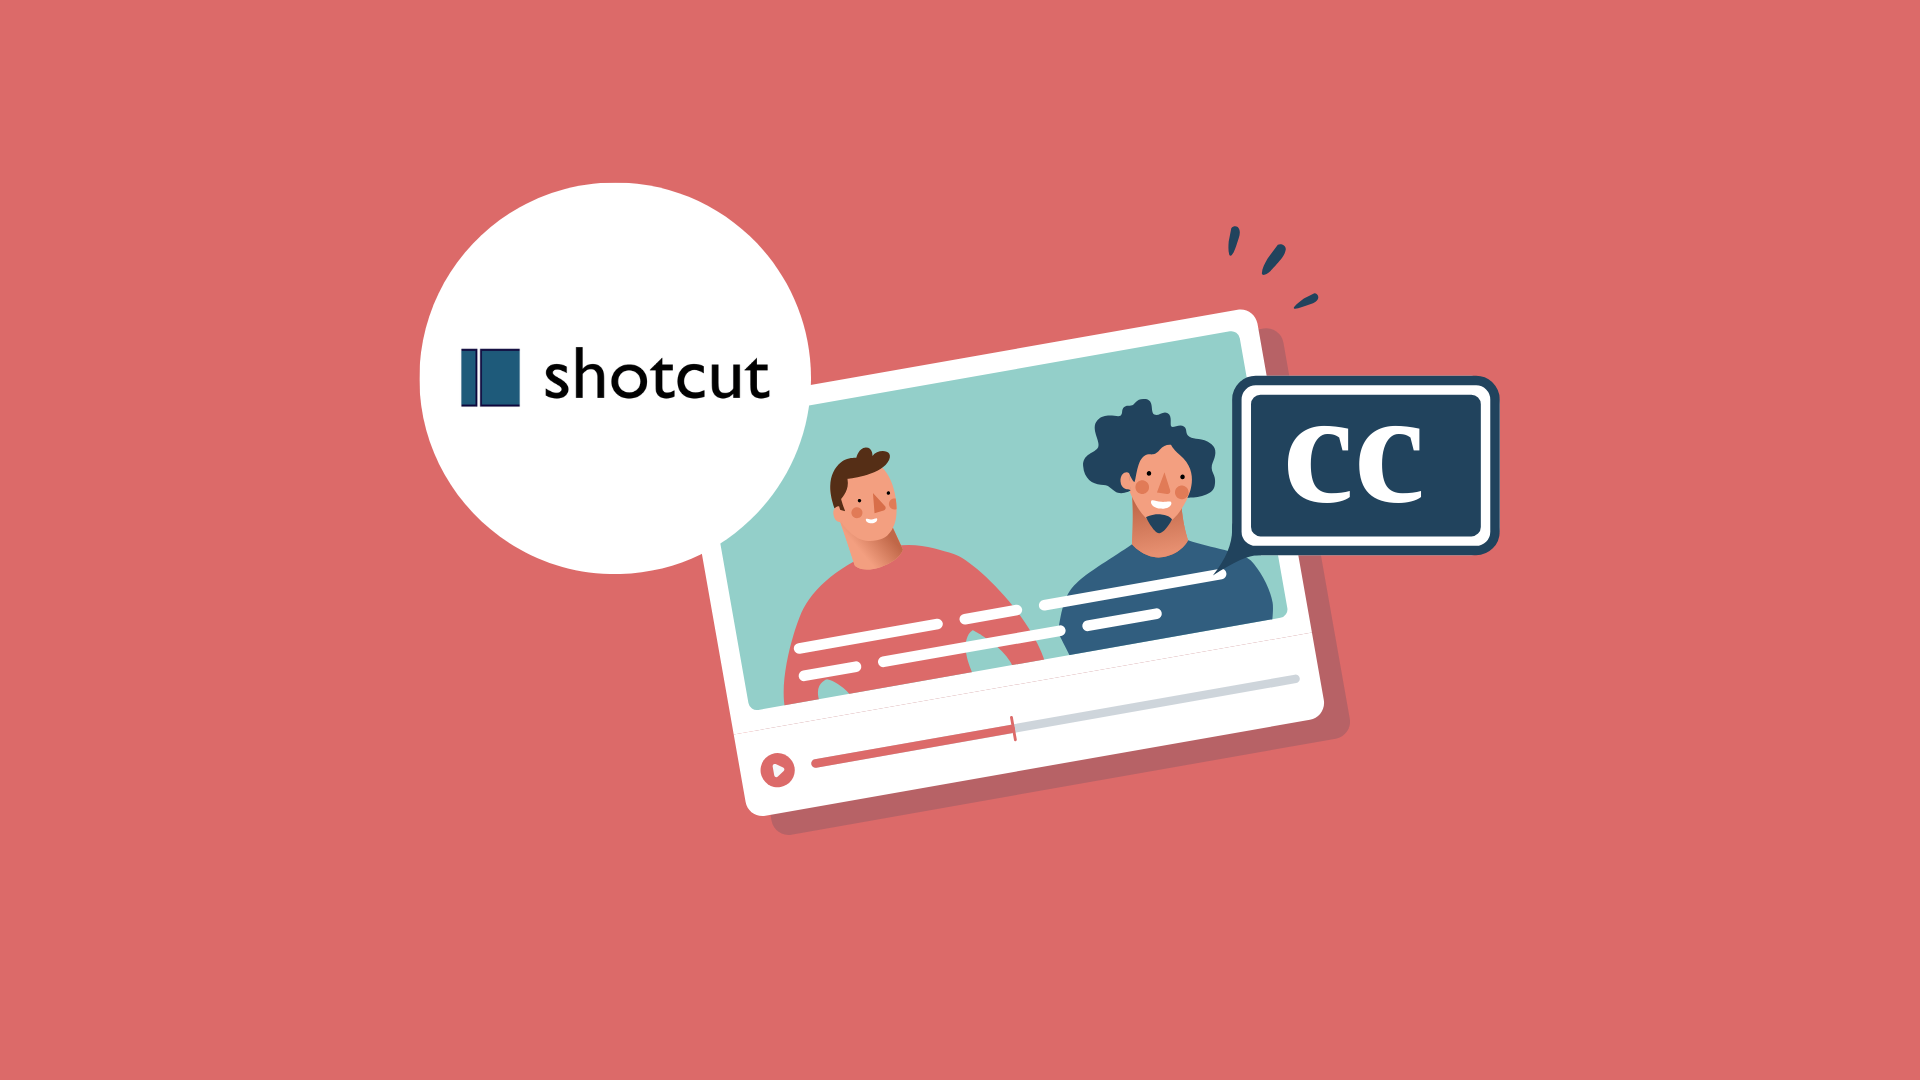
How do you add subtitles in ShotCut?
In this blog, you will discover how to add subtitles to a video in ShotCut.
In today’s world, it is crucial for television programmes to be inclusive and accessible to all, regardless of their hearing abilities. For instance, staying informed about the latest news to understand global events is essential. Subtitling plays a vital role in achieving this objective.
By transforming spoken words and sounds into written text, individuals who are Deaf, hard of hearing, or face hearing challenges can comfortably enjoy television broadcasts. In this blog, we will elucidate the process of enabling subtitles for television programmes to ensure accessibility for everyone.
In this article
Firstly, subtitling is crucial in ensuring that television programmes are accessible to individuals who are deaf or hard of hearing. It offers a written representation of spoken dialogues, sound effects, and background music. By providing this textual information, subtitling ensures that those with hearing difficulties are not excluded from enjoying television content.
Additionally, subtitling holds value for people who are learning a new language or watching television in noisy surroundings. This broader accessibility enhances the reach of television programming to a more extensive and diverse audience.
The process of setting up subtitles typically follows a straightforward method, but the specific steps may vary depending on the television service or provider you use. Below, you will find a step-by-step guide on how to set up subtitles on television:
Please keep in mind that the exact steps can vary depending on your TV’s make and model, as well as your cable or streaming service provider. It’s always a good idea to refer to your TV’s user manual or contact your service provider’s customer support for specific guidance tailored to your setup.
If you are a foreigner living in the Netherlands and would like to watch television through a Dutch cable company, you might be wondering how to arrange the subtitles. Below, we have outlined the steps for you:
Teletext 888 is a widely used method for activating subtitles on Dutch television programs. Follow these steps to enable subtitles using Teletext:
To set subtitles with KPN as your television provider, follow these steps:
To set subtitles with Ziggo as your television provider, you will need to follow specific instructions that may vary depending on your television receiver. Since the process differs for different receivers, it’s essential to refer to the instructions provided by Ziggo’s official website or customer support for tailored guidance on enabling subtitles for your device. They will have detailed instructions that are specific to your receiver model, ensuring a seamless experience.
To enable subtitles on Npostart.nl while watching television programs, you can follow these steps:
In this blog, you will discover how to add subtitles to a video in ShotCut.

In this article, we take you through the history and evolution of subtitling.
In this blog, we tell you all about the upcoming video trends for this year (part2).

In this blog, we tell you all about the upcoming video trends for this year.
In deze blog leggen we je uit hoe je een video kan vertalen met Triple8 en waarom dat handig kan zijn.

In this guide we explain the difference between open en closed captions.

In this new blog we talk about transcribing, what does it stand for and how to use it.

In this guide we explain the difference between subtitling your videos via the YouTube Studio and the Triple8 editor.

In this guide we will explain how to create subtitles for LinkedIn videos in 3 easy steps.

Adding subtitles to your Instagram videos is easy with these 4 steps.
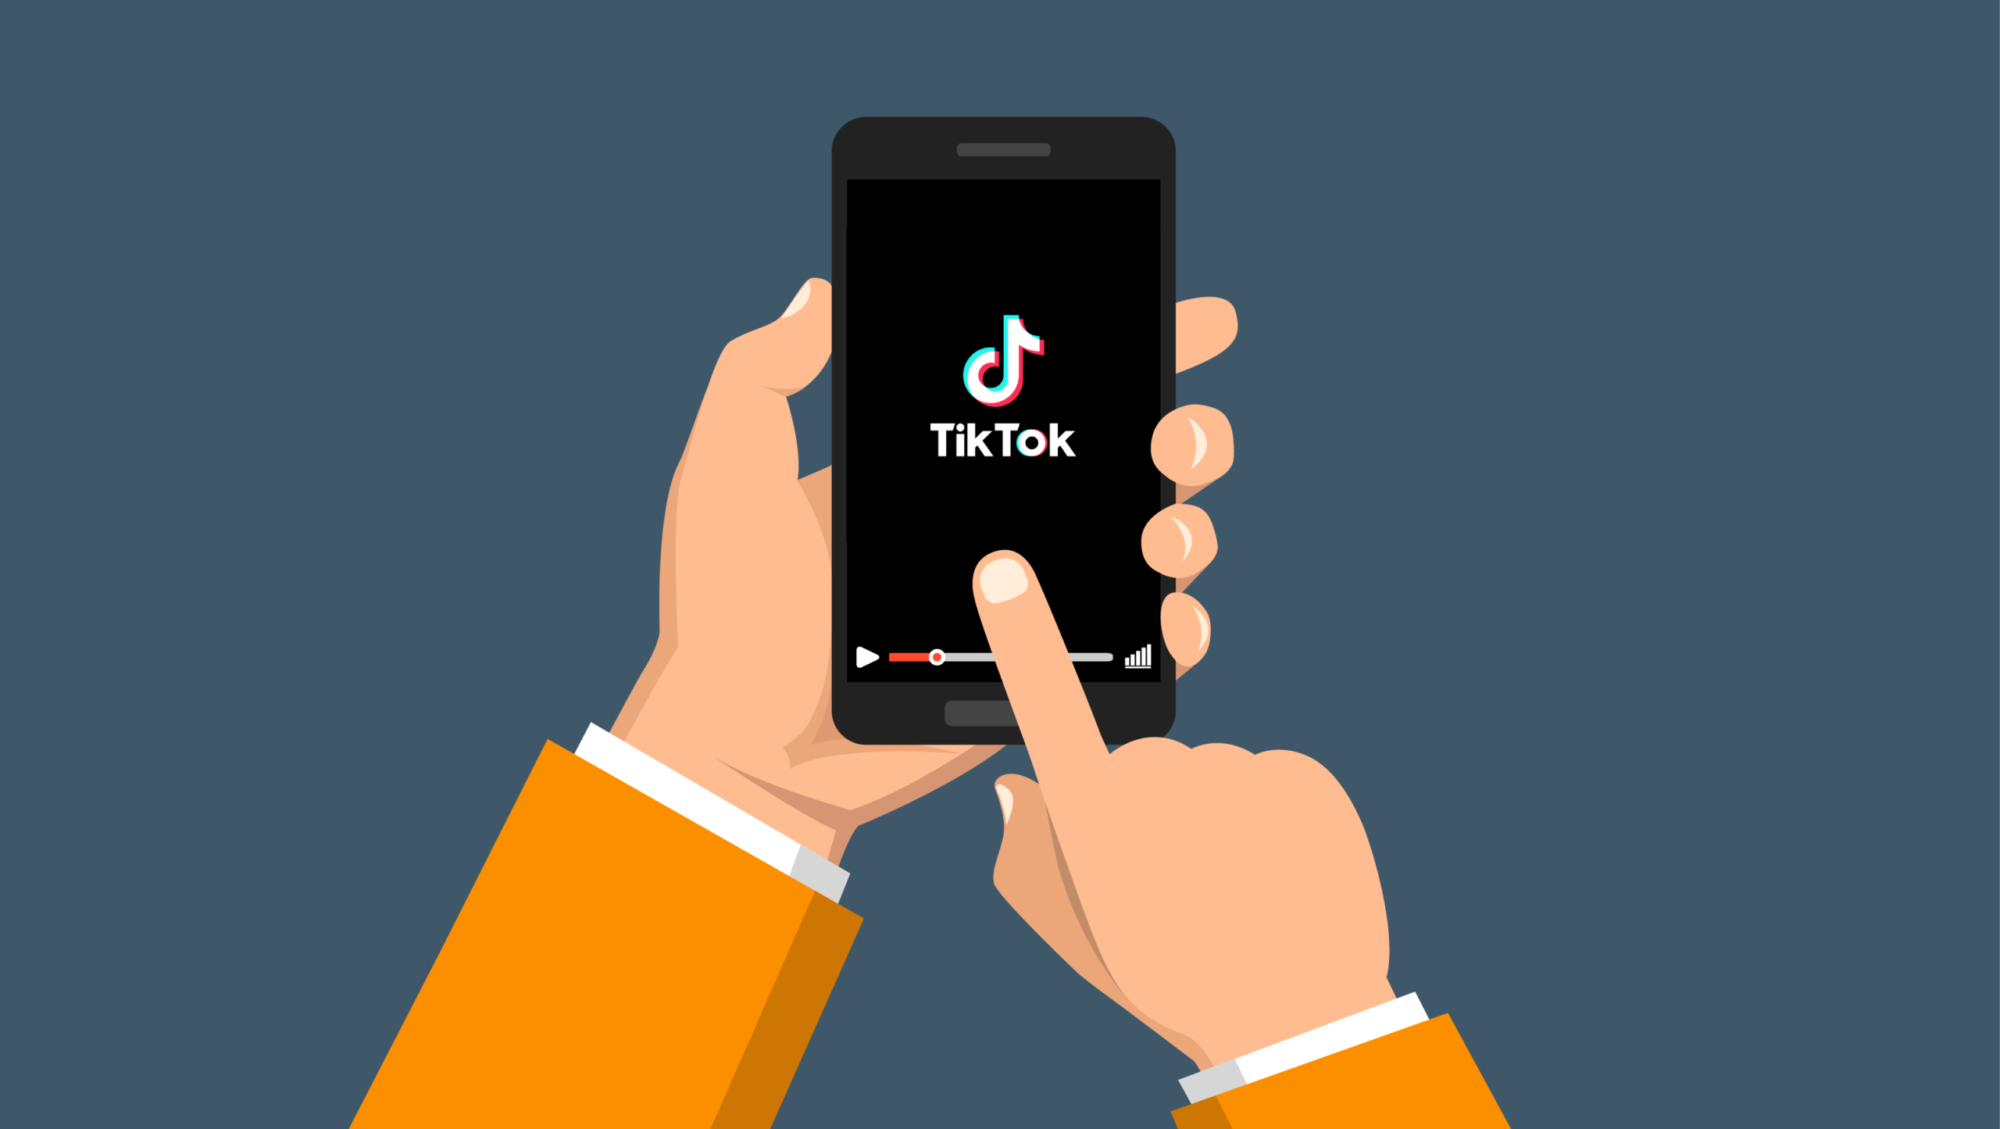
In this guide, we will explain how to add subtitles to your TikTok videos in 4 steps.

In Premiere Pro you can add subtitles in two different ways. In this guide we explain how to add subtitles in Premiere Pro and we show you how to edit them.

In this guide we explain how to add subtitles to your iMovie project. Although iMovie does not have a subtitle function there is a way to manually add subtitles to your iMovie project.

Adding subtitles to your Facebook videos will allow your video to be viewed without sound and make it more accessible to the deaf and hard of hearing. Subtitles will increase the reach of your videos. In this guide, we will show you how to add subtitles in multiple languages to your video, edit and remove them on Facebook.

What is a SRT file, what does the abbreviation stands for and when do you need it?
In this guide on subtitling videos, we explain what an SRT file is and how to subtitle videos on Facebook, Youtube, Instagram, TikTok, LinkedIn, Premiere Pro and iMovie.
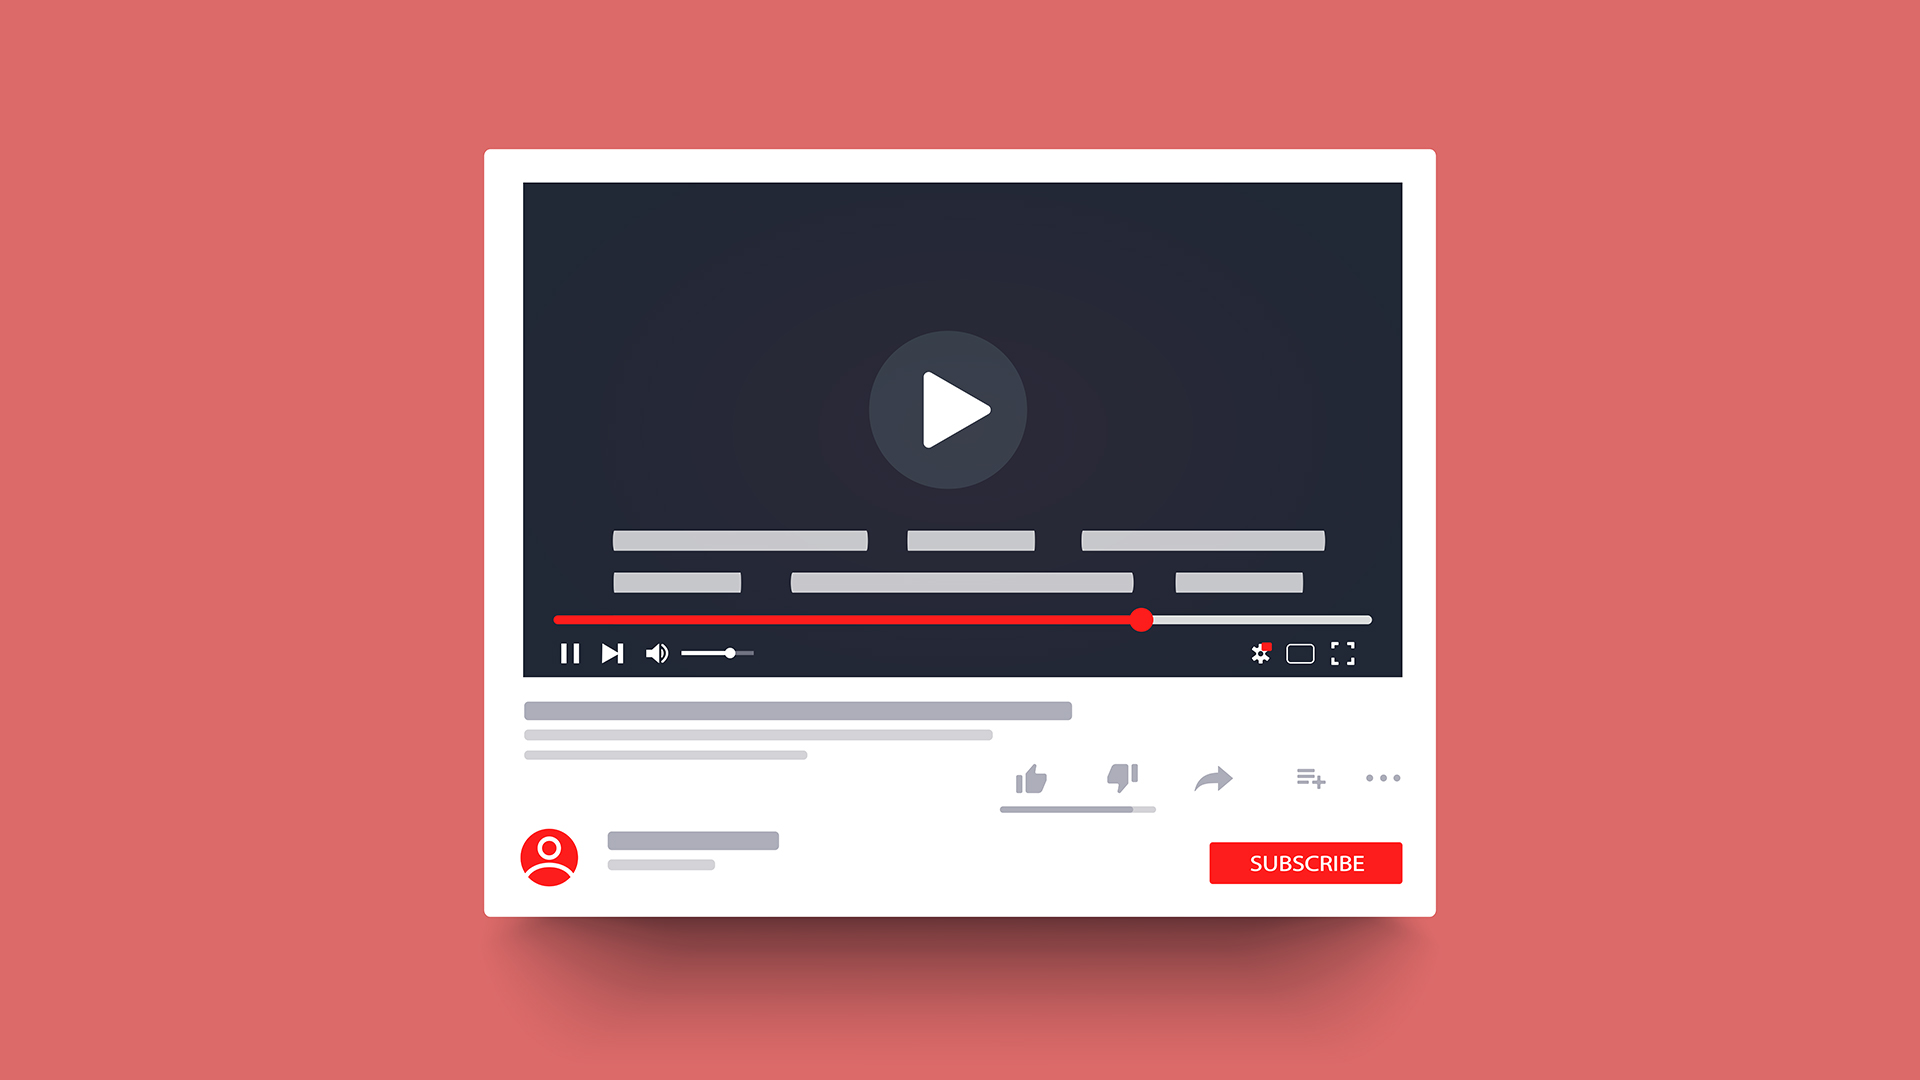
In this guide we explain how you can add, edit and delete subtitles in multiple languages on YouTube.